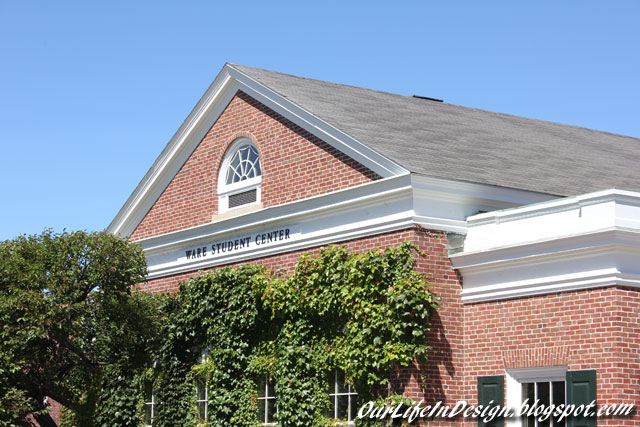
But I finally have good news!! As of July 13, 2016 we are finally first-time homeowners!

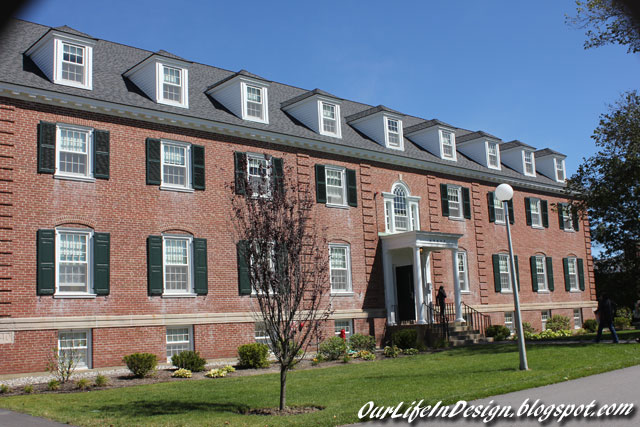
It only took 4/5 years to finally happen. Our real estate agent, Karen, has been with us for 4 years. She is the agent we were working with when we almost bought the Pearl in 2012, which we ended up walking away from after a few instances of bad luck.
 |
| Right after we finished signing all the papers. We had to get a picture with our real estate agent. |
We ran into another rough patch of house hunting this Spring after being outbid on a fantastic property. And to make our search even more difficult the market exploded and suddenly everyone was looking for a house. Our agent, Karen, said it was the busiest Spring her agency had seen since the 80's.
We tried to go to an open house - Cancelled - because the house went under contract after only 7 days. So I asked Karen about another property - under contract. Ugh. She suggested another one. We agreed to go look at it even though it was a raised ranch which is a style/layout we don't really like. I then found two others we would consider. She set up showings for the same day, however it only ended up being 2 showings because again the third house just went under contract. OMG.
Well we were right we hated the raised ranch. We didn't like the layout and it needed so much work. However, the other house was this cute little front-back split. I had shown it to my husband few times online but he had some reservations. He had agreed to look because it had some potential and we were running out of options. We walked in and fell in love.
 |
| I took this photo a few days after closing. The listing photo is no where near as flattering. |
This property was foreclosure. It has 3 bedrooms and 2 full bathrooms. We were surprised to find that the bank had actually put some work into it after they had taken listing photos. I asked Andrew what his reservations were and he said the bank had fixed them all. They had installed a new stove and hood vent. And the biggest change, they refinished all the wood floors with a dark stain.


OMG did I fall in love with these floors. And that fireplace. It is over 7 feet wide!!! This has to be my favorite room. Those gorgeous hardwoods are all through the living room, dining room, the stairs going up and down, the upstairs hallway and all three bedrooms.
We knew we had to move quickly so we discussed it that night and made an offer the next day. Even with our quick moving we received a reply that we needed to submit our highest and best because there was another offer. We put out our best offer and found out on Friday, May 13th that it was accepted! I guess Friday the 13th isn't always unlucky. LOL
We were supposed to close on June 30th but we had a small delay which pushed us to July 8th. The closing day came. Andrew and I both took half days from work. I did the final walk through with my agent. However, the Seller couldn't follow directions and messed up one piece of paperwork. So we had to delay closing again. So it was pushed to July 13th, which in some ways is nice because it meant we closed exactly 2 months after our offer was accepted. It sucked though because it pushes our move in date back.
We have a plumber and an electrician doing some work prior to us moving in. All of which I'm hoping will be completed early this week. Thankfully, our landlord doesn't mind us sticking around for a little bit. He is actually the husband of our real estate attorney. So he has been kept in the loop during our whole purchase process.
We have a lot a plans for renovations to make this property feel more like us. So please follow along with our story.